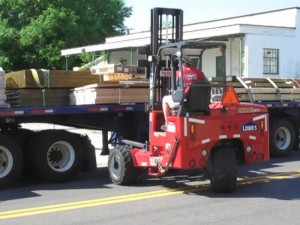
Today the Lowe’s delivery truck dropped off our big order at Dolf’s Cork studio. Dolf is cutting all the lumber for the frames which includes ripping 60 2x4s and cutting 56 plywood support plates. It’s always nice to have friends who can build things. Hope the painting service is also included! I was really impressed with the service at Lowe’s even though it costs $80 for a delivery. Everything arrived on a big truck and the guy drove his forklift right into the doorway. Seeing that alone was worth the price of admission.
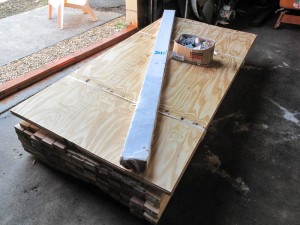
Today I placed a big one to get the lumber and supplies for the panels. We have 3 constructed and I purchased enough material for 27 more. Hopefully we’ll stop at 28 panels.
So here’s the list:
84 – 2x4x8′-0 for the frames and legs
30 – 1x4x8′-0 for the stretcher that holds the light on each frame
108 – Simpson angle Z brackets to secure each corner of the frame
9 boxes of 100 SD#8×1-1/4″ screws for the brackets
4 – 4’x8’x 3/8″ plywood for the connection plates
3 boxes 1-1/4″ galvanized deck screws for the plates
44 pieces vinyl corner bead for the panel holding strips
This does not include the paint and lighting system, which I will get on another trip. Oh, and a couple more tubes of caulk. I go through about 3 a day. Tomorrow the delivery truck will drop off at Dolf’s studio where he will rip the 2x4s for the frames. Then I’ll look for some volunteers for sanding and painting. Hey, where did everybody go?
Sneak peek at Panel 7…
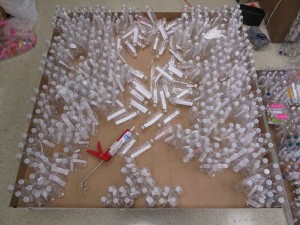
I’ll start a series of posts for each panel. Here is the first one…
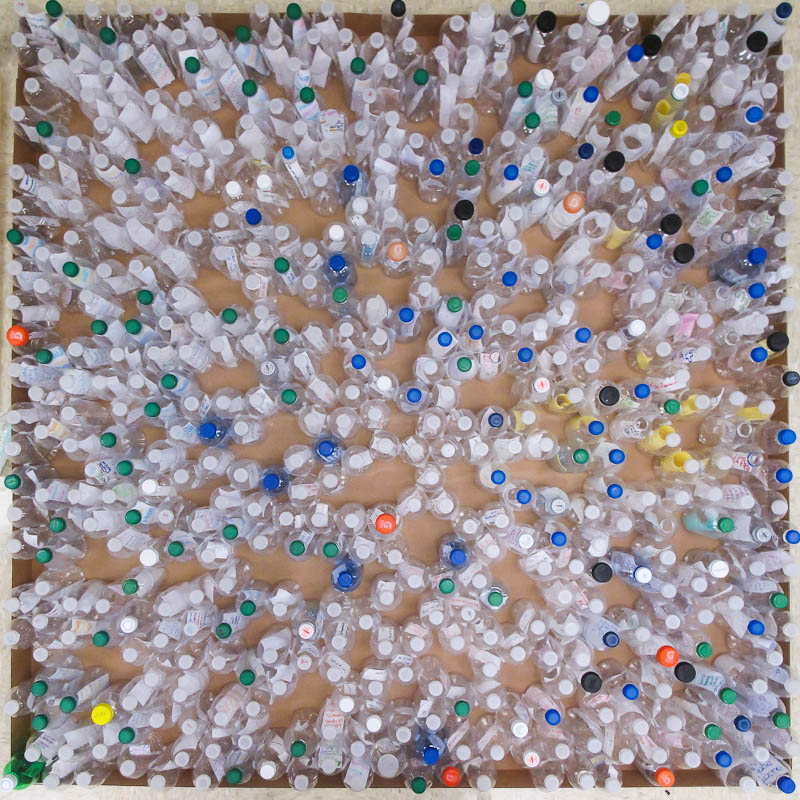
Panel 1 – “Dots”. 433 bottles, 4.5 hours to build. Completed Saturday, March 17.
This is the first panel so I wanted to keep it pretty simple using techniques already tried for the various test walls. It’s easier to leave some gaps so that the various diameter bottles just naturally seem to fit. There is always a certain amount of randomness that you have to accommodate, every bottle is slightly different. It’s also easier to build bottom side down as opposed to sideways because each bottle’s base is slightly wider than the tops (some more so than others). As I was building the first test wall it was evident that the wall was tilting as it grew taller.
Another aspect of the design is the actual color and patterns of the bottles. If you grab whatever is in a single bag and go through that bag entirely before starting on the next, there is a chance that there will not be an even mix of bottle shapes, colors, or cap colors. For most of the designs, I’m after a uniform randomness. Dorian is sorting the bottles into bins so that I can have a handy way to choose the bottles before I start construction.
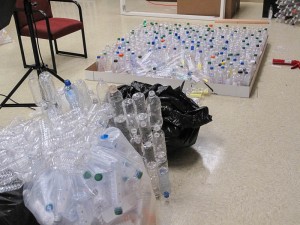 “Dots” is named after the pattern of brightly colored caps that are visible on the front face. Only after I finished did I realize the number of blue caps that ended up in the design. Normally, blue is not that common so I was lucky on finding the right bag. The panel was constructed on the floor before I realized how much easier it would be to raise the tray to bench height! I looking forward to the remaining 27 designs.
Today we hit the 10,000 bottle mark with a few more thousand on the way in. We have 1,000 waiting for us to pick up and 3 high schools, Douglas Anderson, Englewood, and Wolfson, are out on spring break this week and they are sending a bunch our way. We are thrilled to have all of these and now we can devote 100% attention to the wall construction, installation, and the opening.
A BIG thanks to Dorian who almost single-handedly recruited, collected, and recorded every bottle for the project. She deserves a medal for this!
Each panel in the wall is 64 x 64 inches. I start with a square cardboard tray that acts as a frame while I assemble the bottles with silicone caulk. I had some cardboard from a previous project and these proved to be handy. I built 2 trays so that a completed panel could be drying and another panel could be under construction. I place the bottles so that what I am seeing is the front of the sculpture, the side facing Main Street.
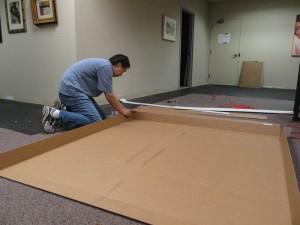
At first I had the tray on the floor and you can image after doing about 400 squats and bending over, my body was pretty racked after Panel 1 was complete. So I did what every good engineer would do and raised the tray to bench height. Wow, what a difference. With a design in mind, the next step is to gather the bottles you need. This is like harvesting in your garden for your meal. I take bottles from multiple bags so that I can get an even distribution, if that is the intent. Dorian is going to sort the bottles by color and size so that I can manage my “bottle palette”. I also keep an accurate count of the bottles when I select them. I tried to count the bottles after a design is complete and this is impossible.
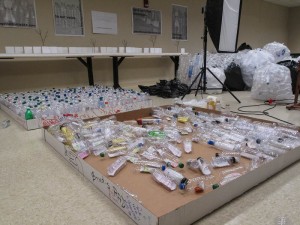
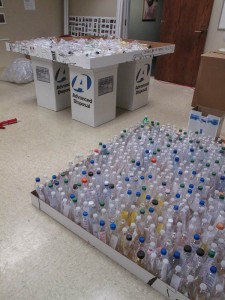
For each bottle I check to see if any of the sides are dented or crushed. Minor dents can be pushed out with a chopstick (ancient Chinese secret). If the bottle is hopeless I remove the message and use a new bottle. If the bottle is moldy and gross, I set it aside. If the message is readable, I’ll use a new bottle.
If there is moisture in the bottle I’ll remove the cap and let it dry out. If there is no cap I put one on (I have a large collection of bottle caps, all sizes). Sometime the bottle needs to be “burped,” so I just open it to let some air in and close it back up.
After a bottle is deemed good to go I test place it in the design and visually note the contact points to adjacent bottles. It’s important to apply caulk to as many contact points as possible to get a good connection to adjacent bottles, especially in designs like “Confetti” where the bottles are more-or-less randomly placed. Also, caulk does not stick to bottle caps, this I found out on a test model. I guess it is the type of plastic or the fact that oils from the hands may be on it. I’m always playing a little mental game about seeing how accurate I am with the caulk placement. After a while you get pretty good at knowing where to place the caulk. You also try to go for just a little dab, not a big glob…that stuff is expensive! After the bottle is placed you repeat 400 times :).
Each design takes between 300-500 bottles. I want each design to be different so there is no set formula. My current rate of construction is 100 bottles an hour. That’s continuous work. I can usually go for an hour and then it’s break time, at least to get away from the fumes for a while. I have a fan for ventilation, but the smell of curing silicone is pretty bad. Silicone cures by combining with the moisture in the air and it releases acetic acid, the same stuff in vinegar. But I don’t want to get ill over this stuff so I try to get lots of fresh air.
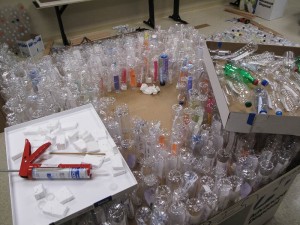
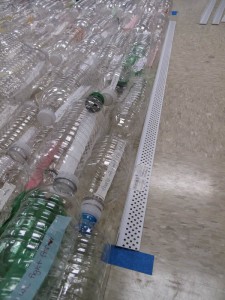
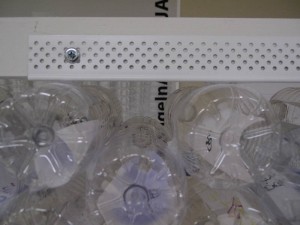
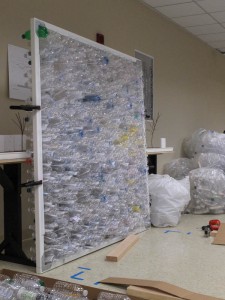
I let a tray cure until I finish the next panel, which is always more than a day. Then I slide the mass of bottles out of the tray to an adjacent area where I mount the holding strips. By this time the whole mass acts as a single unit. I use a 4 ft piece of vinyl corner bead (the stuff they use for drywall corners) and caulk it to each side. This is used as a “tab” that allows me to screw the bottles into the wooden frame. After the holding strips have cured, I lay a wooden frame over the bottles and place clamps on two of the sides so I can raise the whole frame and bottles together. Then I screw the holding strip to the wooden frame and voila, it’s complete!
